Getting ready for the Sheep and Wool Festival in Rhinebeck, NY

I love the month of October.  Perhaps it rivals only March when the sheep shearing season is in full swing and the area errupts in farm festivals showing off shearing and selling beautiful yarns made from years’ past fleeces.

Fall foliage in the city Fall foliage in the cityWhy do I love October? Beautiful leaves. The anticipation of the cold weather.  You can feel the crisp air taking over in the mornings.   Hot chocolate all of a sudden feels appropriate. But most of all, October means the arrival of the Sheep and Wool Festival in Rhinebeck, NY at the Dutchess county fair grounds.

In case you have never been to the Sheep and Wool, here is a primer.

The fair grounds where the festival takes place consist of about 10 barns. About 2 are dedicated to live animals. Sellers and buyers trade, sell and show sheep, llamas, goats, and rabbits.  Then there is a barn or two where vendors are selling fleece (un-brushed) or rowing (brushed and either dyed or not). There is also a large pavilion for food vendors where you will find artisinal cheese, wine, maple candy (a personal favorite), apples, cider and cooking demonstrations.  The sheep to shawl competition also takes place here.

The remainder of the space, or about 7 barns (including one that is actually three barns in one), is dedicated to yarn. Here you will find anything from small or large operations that raise the animals, sheer them and spin and dye the yarn themselves, to commercially produced yarn.  I usually skip the latter and look for the former.  There are also quite a few vendors who buy undyed yarn and then dyeit.  Or buy the fleece and then have it spun in the way they like and then dye it.  There are blends of wool with other fibers like bamboo, tencel, cotton, silk and others.

How to buy yarn at the sheep and wool festival in Rhinebeck, NY

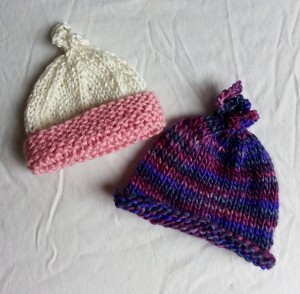
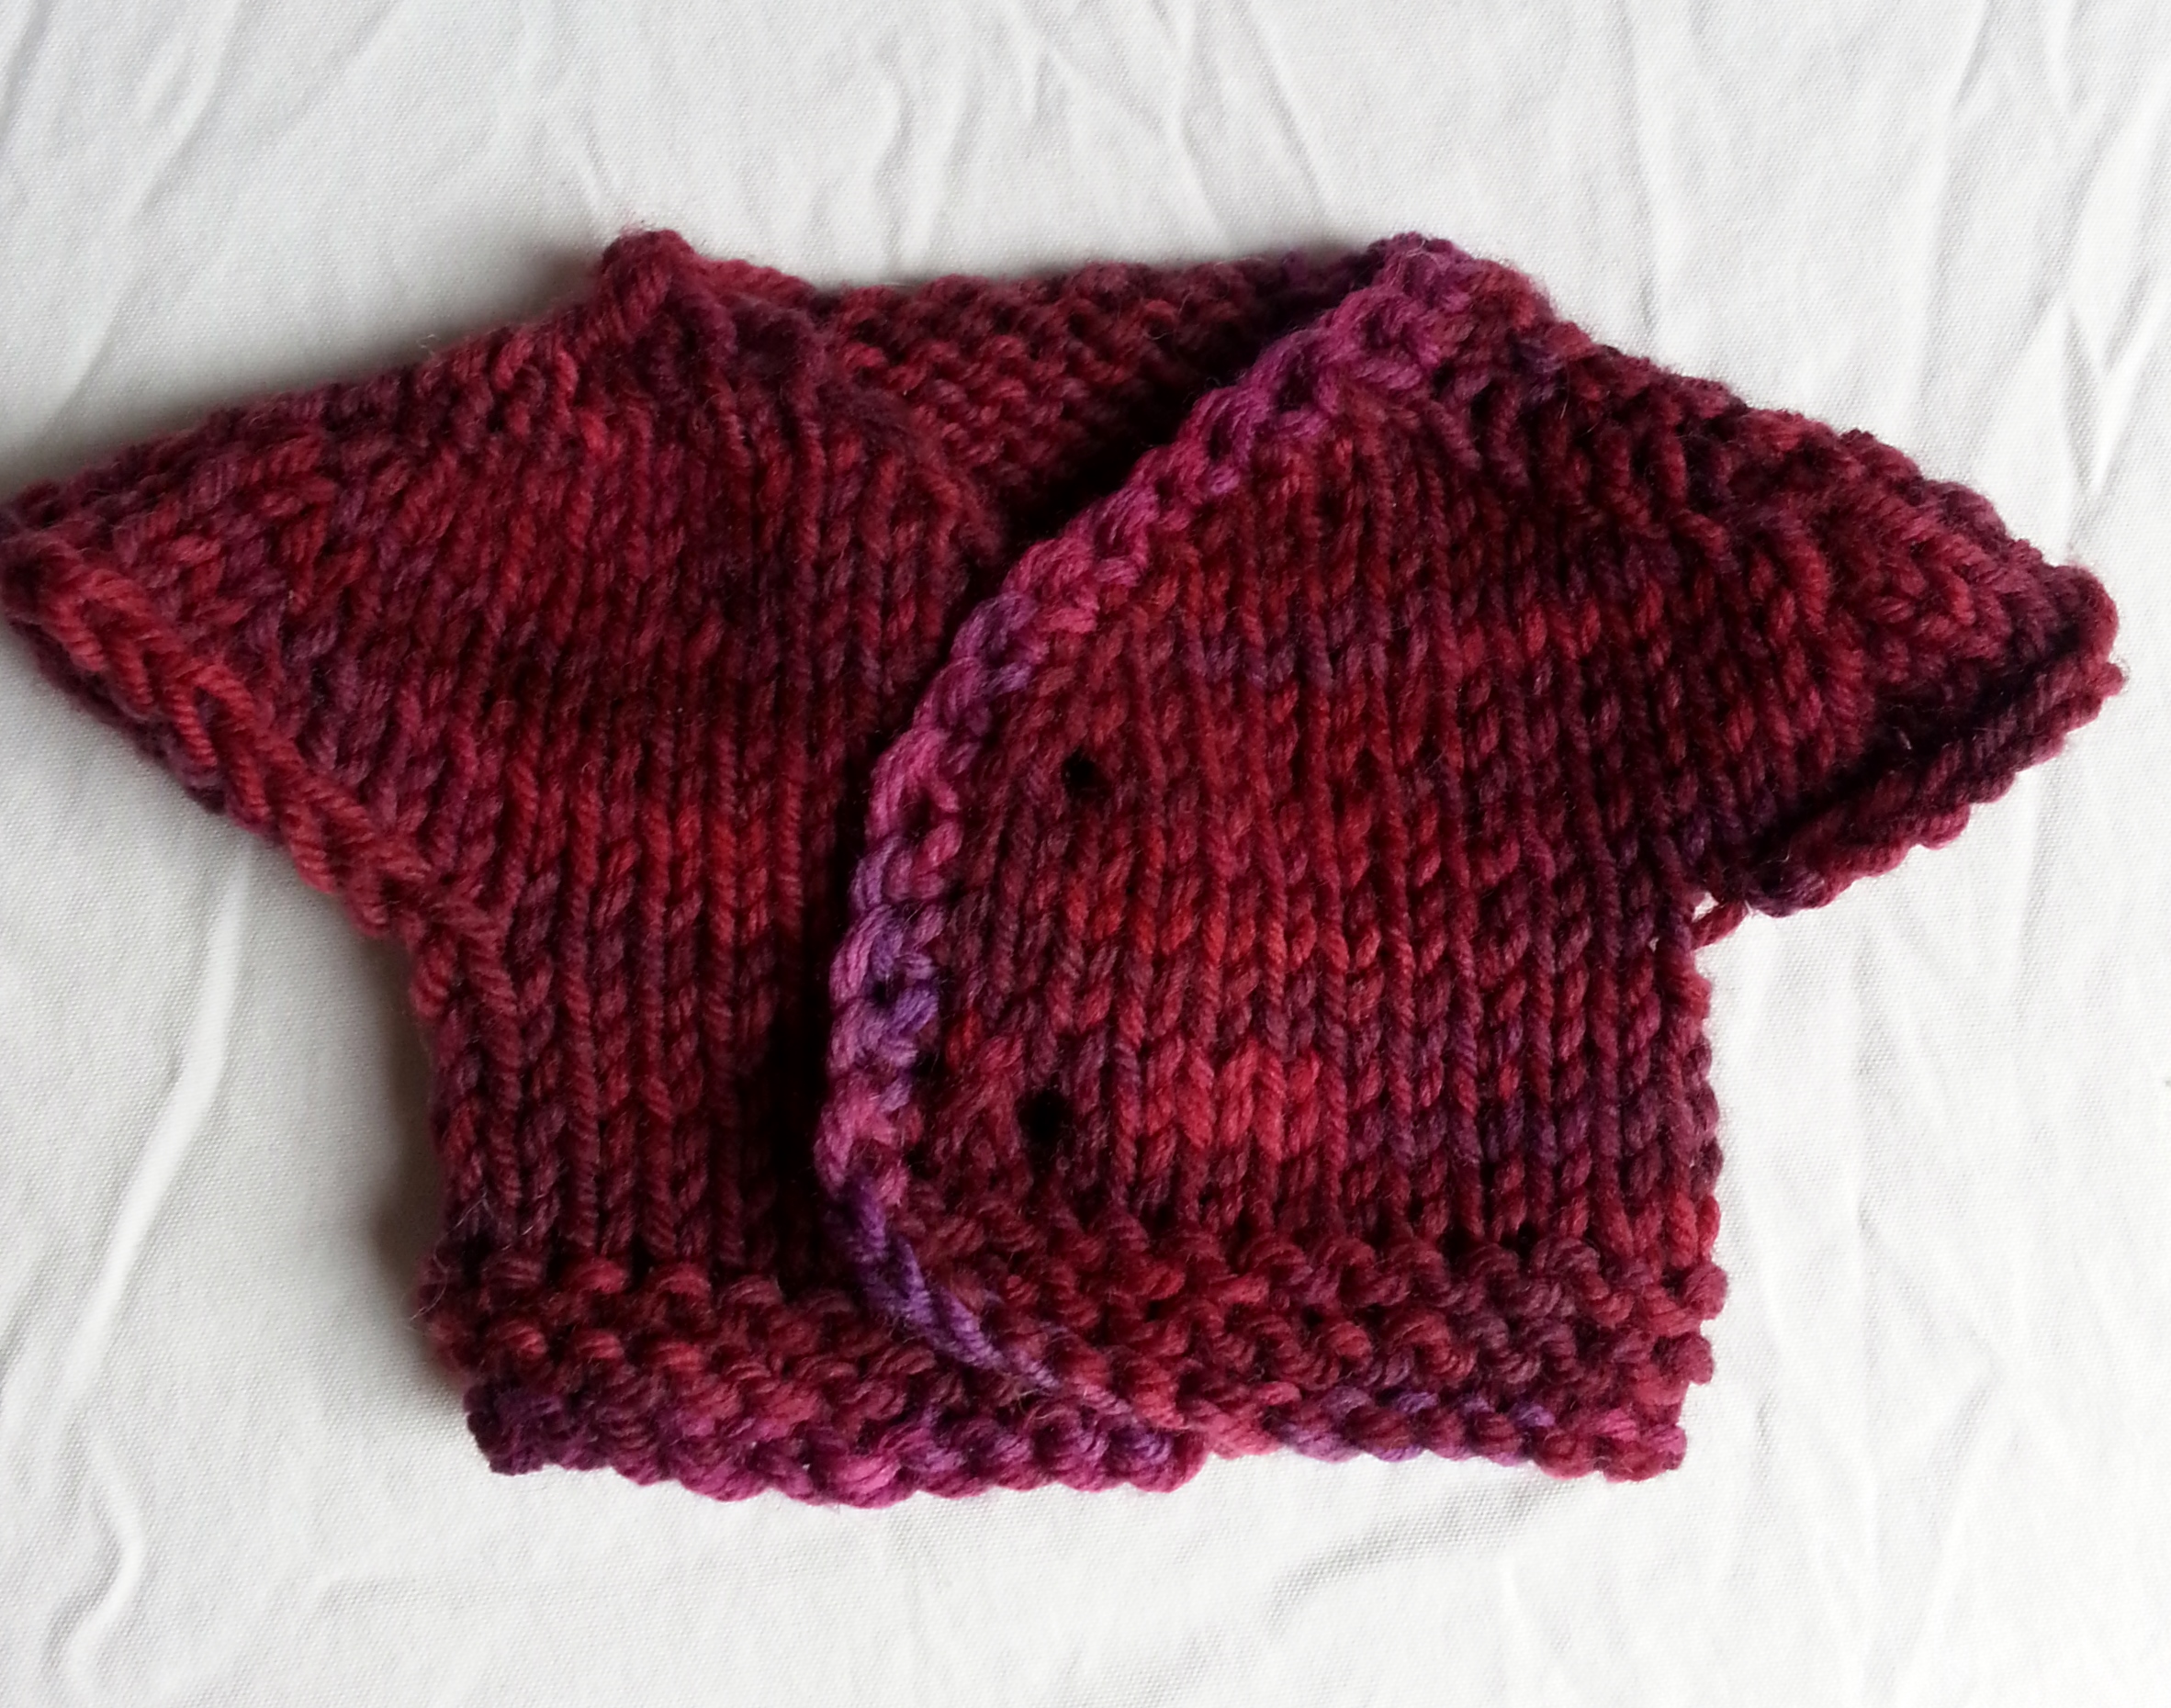
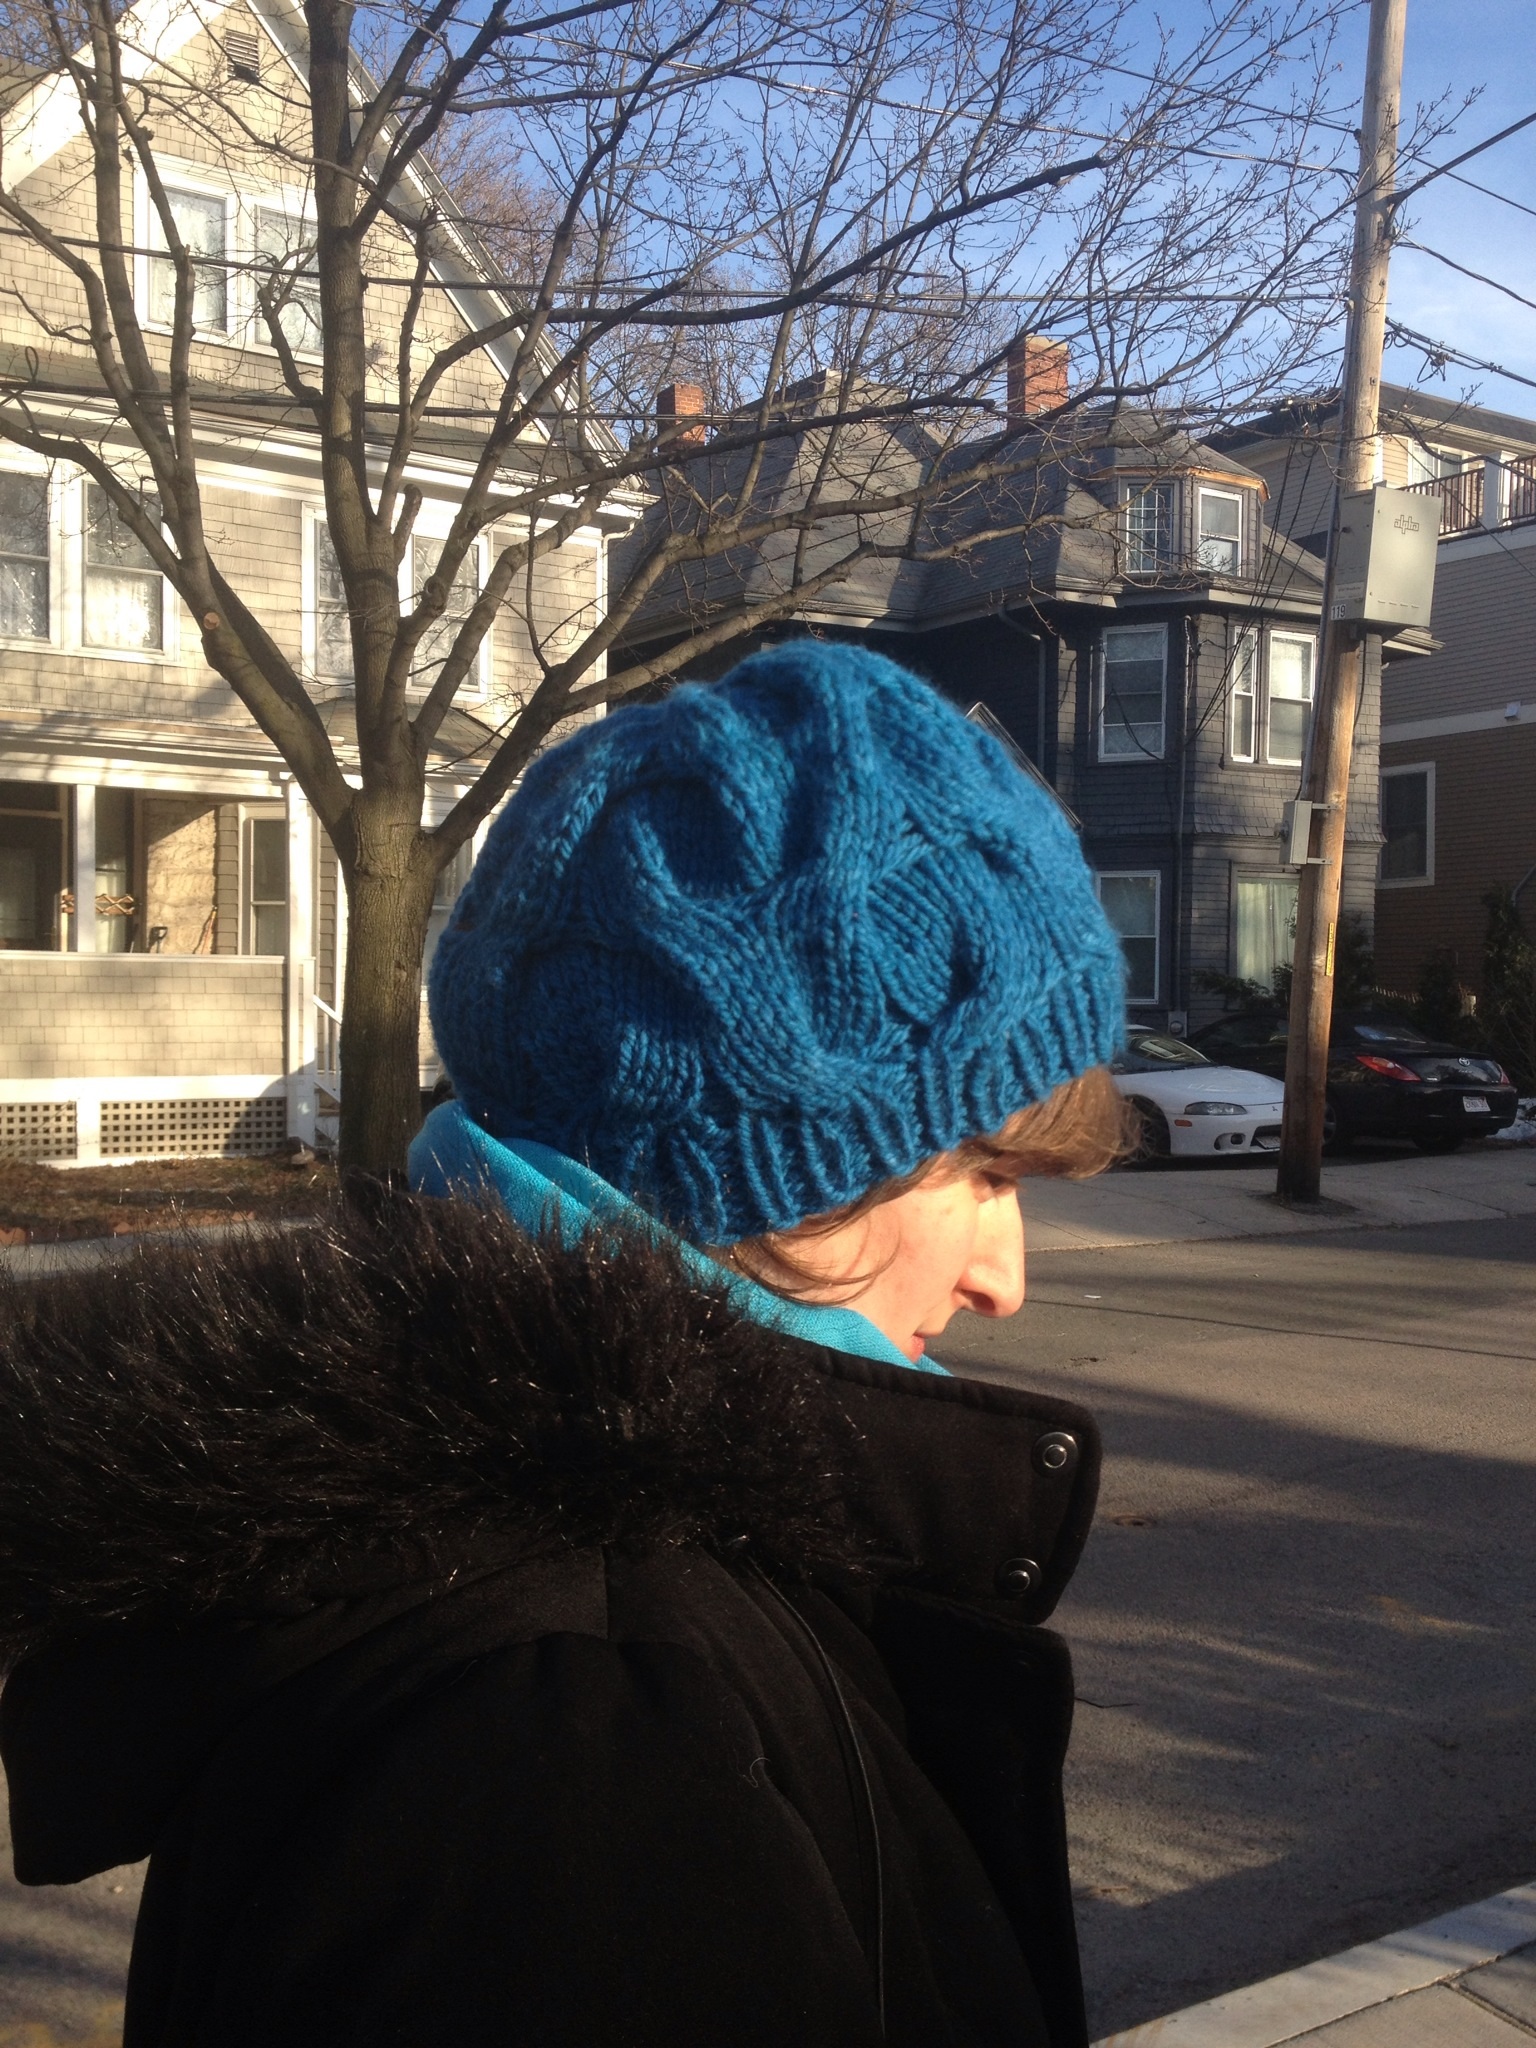
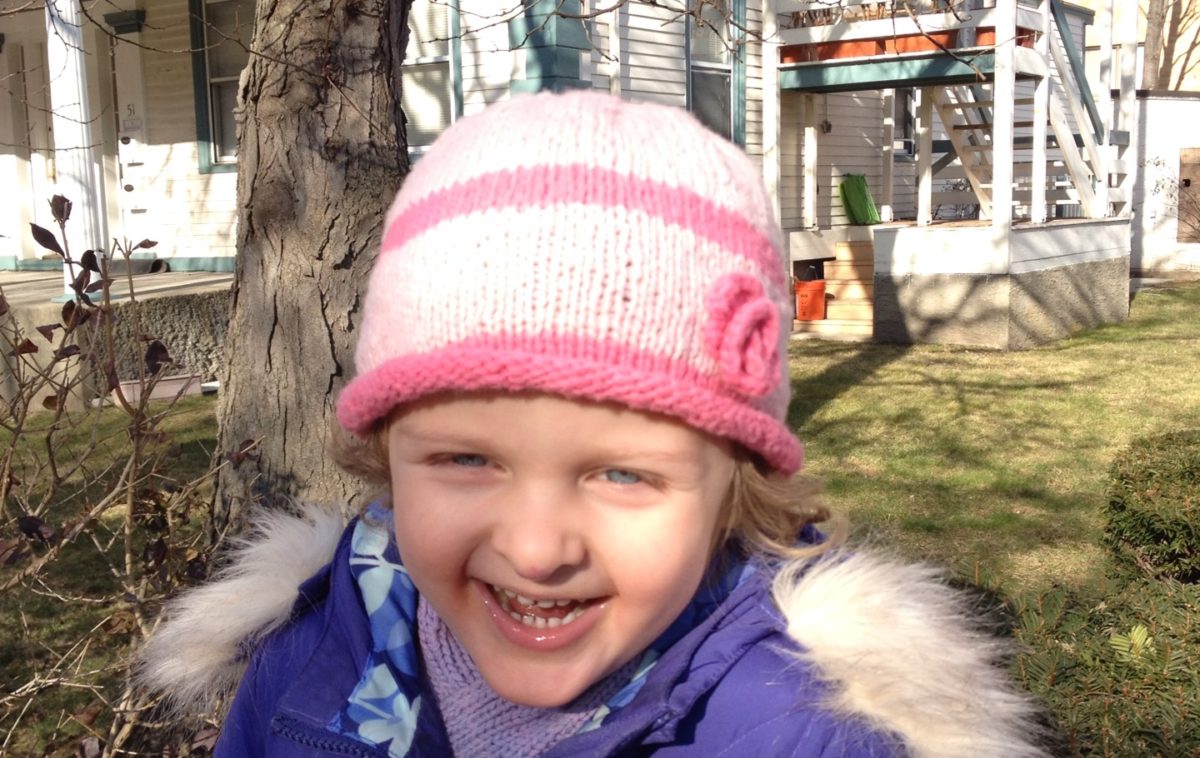
I’ve been going for about 5 years now and the first year I made the newcomer’s mistake.  I looked for bargains, only bought yarn that seemed like a deal and often bought a skein here or there. What I wound up was a few skeins that didn’t match in weight or color, from which I could only make a hat for myself or someone else.  I still have some of the yarn form that year.  Subsequent years I got smarter, started buying projects

Perhaps my biggest mistake the first year was going without a list of projects I wanted to make.  So, this is how you should shop at the sheep and wool festival:

  1. Save yourself the time waiting in line and buy a ticket on the website (http://www.sheepandwool.com/) ahead of time.
  2. Make a budget. To do this, estimate the cost of yarn for each project (you can get estimates from yarn.com). Get a final number and write it on a piece of paper or your phone and every time you make a purchase, subtract from your budget.  This is the best tactic I have found for keeping purchases done by credit card reasonable.  A friend also bring cash and only cash with her, so once you’ve spent it, the buying stops.
  3. Make a list of items you want to make during the next year. Your list will look a bit different from my list below, if this is your first year. I recommend bringing the patterns you like with you.  Ravelry is excellent for researching patterns.
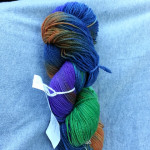
    1. A sweater for my father in law, worsted weight, in blue color, 8 skeins.
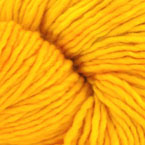
    2. Socks for my kids, fingering or even better sport weight, 2 skeins, bright colors.
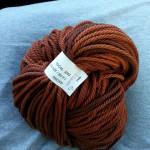
    3. Additional yarn for my daughter’s blanket, Brooks Farm, Solana (I bought 3 skeins two years ago, 2 skeins last year which were accidentally the wrong yarn), 3 skeins, matching color. I will bring the blanket to make sure I don’t make a mistake again.
    4. 2 extra skeins of the cream, undyed yarn from the Massachusetts dealer on the top floor of the split barn.
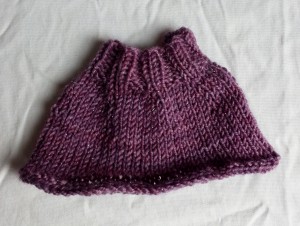
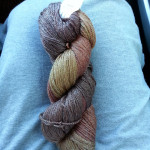
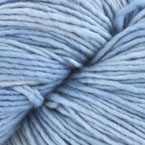
    5. A light sport weight yarn, preferably wool blend, for a spring fall beret, in blue color.
  4. Get there early, whether you go on Saturday or Sunday.  By around midday, the isles are packed with people and it’s hard to make out heads or tails.
  5. Start at one of the entrances and work your way around.  Use the map given out at the entrance and mark any stalls you really like.
  6. If you see a yarn you like, ask the seller whether it will fit your project.  Most sellers are honest and helpful to guide you to the right choice.
  7. If you like a yarn that you find and it fits your project, buy it.  If you don’t buy it, by the time you come back, someone else will have bought it.
  8. Don’t buy yarn on an empty stomach: eat lunch.  The festival can become a time warp and before you know it, it’s 2pm and you’re starving.  Don’t do that.  Brave the long line and eat some lunch at 12.
  9. Don’t forget the maple candy and cider for the ride home.

See you at Rhinebeck!

The knitting diet

Last month, I was on a knitting diet.  Not a voluntary diet: I had mostly run out of yarn.  It’s not possible to completely run out of yarn as there is always a ball of yarn somewhere waiting to be made into doll’s clothing, but I had no big projects.  I had knit a sweater for my father in law, my mom, my daughter for the fall, my husband for the fall, and then, I had no more project yarn.

Today is September 23rd, or 19 days until the annual pilgrimage to the Sheep and Wool festival in Rhinebeck, NY. Buying yarn now would be counterproductive: I would diminish my Sheep and Wool budget and spoil all the fun.

And so, I was on a diet.  As many avid knitters, I am not quite myself when I don’t have 3-4 projects that can be picked up at any minute. I’m antsy, nothing is going quite right, all of a sudden the train or car ride seem SO LONG!

And then the cold weather came.  Since we live in a condo, the winter things go into boxes in the spring (or midsummer depending on my work load).  Here I was, going through the stash of hats, mittens, scarves, sweaters, and other woolen items that I had so lovingly knit the previous years.  As best as I can see, my kids have outgrown or rejected about 60%-80% of everything they had.

First, my younger daughter took my older daughter’s Basket Weave hat (pattern coming soon). Check – one less thing to store for the next 2 years.  Then it became obvious that the girls have outgrown all of their light winter hats and those woolen pants that I had knit for them two years ago? No one wore them: RIP it! I donated some, but the rest made from good yarn I re-purposed.

Now I had a grown my stash back, without spending one cent and simultaneously discovered a real need for my family.  Winter hats! Scarves! I’m working on the Every Year Hat pattern  – details coming soon.

Spring Berets and clothing for dolls

For years now I’ve been trying to make a spring beret for myself.  I knit very fast and most berets are knit in the round, which makes this an easy project to accomplish. But I have finally accepted the source of my many failures.  Try as I might, I simply cannot create a light spring beret from DK yarn.  I will have to go backwards: find a pattern and then buy (yikes!) the yarn they recommend.  That will be a first.

In other news, I’ve been working on some gifts for my kids and decided to make clothing for their dolls.  Here are some of my creations:

Doll's dress with lace Doll's dress with Velcro closure and lace

This dress was so simple to make that I am astonished how good it looks.  I wish I could tell you the yarn, but I have no idea where it came from.  I found it in my stash, balled up and unlabeled.  It’s a cotton blend.  Here are some very sketchy directions: Cast on 36 sts and work for 4 rows in seed st.  Then keeping the first and last 4 stitches in seed stitch for the closure, work the rest of the stitches in stockinette stitch for about 2″.  Join in the round and work 2 rows in teh round.  Knit 2, m1 all around, then knit one round even.  Then Knit 3, m1, and continue this way until you have done Knit 5, m1.  Then knit evenly for 4″, and finish with another 4 rows of seed stitch.  I added 2 straps and a belt detail with 1/2″ lace I had on hand.

A skirt, hats and a baby sweater:

Knit doll's skirt knit hats for dolls Doll's sweater knit using the contigous method

To make the skirt, cast on 32 stitches, and work k2, p2. On the wrong side, work the established pattern.  Repeat these 2 rows for 1 inch, then (K3 and M1) repeating to the end of the row.   Work in stockinette stitch for 3″ and finish off with 2 ridges of garter st. This is a great way to use up some leftover sock yarn.

The sweater is made using the contigous method.  Look it up on Ravelry.  I can’t thank the creator of this method enough for sharing her creation with the world.  As you can see, I even make doll’s sweaters this way now. All you need to guess is the approximate width of the back of the neck. From there, you can adjust the shoulder and sleeve size as you go.


Learning something new

I picked up a great book from the library written by Col. Hadfield called An Astronauts guide to life on earth. As an engineer, the title was immediately interesting to me: how do astronauts do all the things that they do and what is it that they do for years when they are not in space. It turns out that the best study lots and lots of subjects, from orbital mechanics to plumbing to geology. Fascinating book, and after 2 nights I am already 1/2 way through it.

What does all this space exploration have to do with knitting? Just when I allowed myself to think that I know what there is to know about cast on methods, I learned a new one: crochet cast on. See this tutorial for an explanation.

I need the cast on for a raglan sweater I am making for my mom. This project has been more than a year in the making. I made my mom a sweater for the holidays last year (that’s 2012, not 2013). And it turns out that it was too small. Then I decided I should actually measure my mom to make sure that I get it right second time around. I measured and bought yarn from Brooks Farm at the Rhinebeck Sheep and Wool Festival. Now, all that stands in my way is the lack of time and the crochet cast on which requires a crochet hook. I must have one of those lying around somewhere.

Today, I am a wealthy woman

When you can no longer ignore the large pile of projects and project bags (mostly empty with only the needles and small leftover yarn) piling up in your house, you must sort.  Today, Ifound a sliver of 30 minutes to turn chaos into organized chaos.  I am lucky enough not to be in very bad shape, but my pile still consumed and took over the top of my dresser and the top drawer.  I went through and re-sorted my needles and it turns out I own not 2, not 3, but 4 00 needles.  That’s right: 4 double zero needles in case I ever need to help a spider sort out his spiderweb or perhaps knit very very thin socks.  The kind that I have sworn many times I will never do because I can really only get through one sock before giving up in frustration at the slow progress.

Besides the 00 needles, I also found a large pile of other valuables Addis: 4, 5, 7, 9, 13 and many double pointed needles.  Now, I feel ready to tackle my newly expanded stash.  Here are the new additions from a recent visit to Rhinebeck’s Sheep and Wool Festival.

Today, I fell really wealthy.

Off to the Sheep and Wool

Every year, October brings with it a little bit of heaven. It’s called the Sheep and Wool Festival in Rhinebeck, NY. I start making my list of required yarns sometime in the summer, usually in my head. Then I forget at least 2 or three out of the 5 or so items I need, so I start writing things down. This year, I will surely remember my list since it will be electronically saved in my phone. Now I just have to remember to bring my phone.

So far, I have:
1. Extra yarn for a baby blanket – at least 2 skeins – Brooks Farm, Macho
2. Thick sock yarn 2-3 skeins
3. Undyed yarn, especially if it contains cotton, bamboo or other non-wool fibers 4-5 for a sweater
4. Something from mostly Merino
5. 2-3 Skeins from Good Kharma farm (their Hibiscus yarn is a big hit for hats with the kids) (that’s the stand with the magnifiscnet tree like holder for yarn)

I can’t wait!

Owlies are coming.

As luck would have it, I discovered the Owlie Sleepsack past my children’s age for using such a thing, so it’s been a nagging who-can-I-make-this-for project. And alas, it seems that my cousin is in the expecting category so I have the perfect excuse to get my hands on some beautiful Malabrigo yarn and knit up this gorgeous project. I am thinking of ways to make this baby-sleep proof. Maybe adding shoulders and armholes so they baby can’t scooch all the way into it.

The colors are the colors of their alma matter. If you are from LA, you’ll know.

Burly whirly hat in aqua blue with mods for kids

I made a hat from a Bernat pattern called roving – cable hat. I love it. I used malabrigo chunky in Tuareg 98.

New term: wables: cables that are wavy.
I did change a few things. First of all, I never knit hats flat, so I made this in the round thus avoiding the “bald spot” in cables as someone called it on ravelry. Also, I upped the needle size. I am a loose knitter and even at the exact gauge my hat fit too tightly to be comfortable. I upped the needles to size 13 and probably could have gone to 15 and still had a great hat, but one that actually fit and poofed out a bit more.

Inspired by this beautiful hat, which I love, I made two for my kids. You’ll want to download the Bernat pattern to make sense of these directions.

For age 5-6
Cast on 48 st on size 9 needles. Join in the round, being careful not to twist and knit in a knit 1, purl 1 rib for 1 inch. Increase as follows: [(k2, m1) 5 times, k2] 4 times for a total of 68 st.

Switch to larger needles(size 13) and knit 1 round.

Do the double 4 on 4 cables 4 times, doing a purl st between each repeat. Then work 10 rounds even. Next round, k15, sspo( slip the next stitch, knit 1 stitch and pass the slipped stitch over the knit stitch), 4 times to decrease the purl stitch.

Next cable row: k4, work the cables 4 times around.

Work 5 rows even then decrease:
K3, k2 together, until the last 4 stitches in the round, k4.Knit one round.
K2, k2 together, all the way around. Knit one round.
K1, k2 together, all the way around. Knit one round.
K2 together, all the way around. Knit one round.
K2 together, break yarn and pass through the remaining stitches.

For size 2-3
Cast on 40 stitches. Join being careful not to twist and knit in a knit 1 purl 1 ribbing for 3/4 inch.

Increase to 65 stitches, by working as follows m1, [(k2, m1) 4 times, k1, m1, k1, m1] 4 times.

You will do the cables the same way, except instead of a 4 on 4, you’ll do a 3 on 3, 5 times around, and finish off as the child’s hat above but only after 4 rows above the second set of cables and only 8 rows in between.

Warmy Hat – a pattern for a winter hat in a chunky yarn

Let’s say you have some down time and a skein of Burly Spun that’s sitting around. Here is a great hat that I made for a friend’s daughter. Looks great and feels luxurious, and of course, now i have to make more for my own kids since they loved it.  I called it Warmy because it’s warm and snugly – so there you get the hybrid.  Here is an overview of the finished product with the pattern following.  Check back as I will post a video on how to twist stitches for those of you who have never done this technique before.

Hat overview:

How to twist the knitted stitches:

Here is the pattern:

Yarn: Burly Spun by the Brown Sheep Company.  This color is called Lotus Pink.

Needles: Size 13 needles.

Gauge: 2.75sts per inch (in the k1, p3 pattern).

Child size: 17″ around, approximately 2-4yo.  But it’s fairly stretchy, and for a larger size, increase the main section in length.

Cast on 48 sts.  Join being careful not to twist.  Work the border (k1 twisted, p1) repeat all the way around for 1″, about 5-6 rounds.  Change to the main pattern of (k1 twisted, p3) all the way around.  Work even until the hat measures until 5″.

Decrease:

Round 1: K2tog twisted (worked like twisting one, just catch the back of both the knit and purl st that follows it), p2, k1 twisted, p3 all the way around. 42sts.

Round 2: Work 1 row even (knit the twisted stitches, being sure to twist them, and purl the purl stitches).

Round 3: Repeat (k1 twisted, p2, k2tog twisted, p3) all the way around. 36 sts.

Round 4: Work 1 row even.

Round 5: Repeat (k2tog twisted, p1, k1 twisted, p2) all the way around. 30sts.

Round 6: Work 1 row even.

Round 7: Repeat (k1 twisted, p1, k2tog twisted, p1) all the way around. 24sts.

Round 8: K2tog twisted,  k1 twisted, p1) all the way around. 18 sts.

Round 9: (K1 twisted, k2 tog twisted) all the way around. 12sts.

You should have 12 sts left.  Cut yarn with approximately a 6” tail, weave in.  Weave in cast on end.

You can make a pom pom for the top or you can leave it as is and the hat will be reversible.

How to make a hat from a great headband pattern.

Making a hat from a headbandI just figured out how to knit a hat from a headband. I had a headband pattern, but I wanted to try making a hat from it, without having to pick up the stitches from the edge of the headband once its done.  If you have noticed a pattern of the things I design, I HATE cutting yarn.  Making one stitch at the end of the row is the basic idea here.  You can see the example in the image on the right.

Here are some basic instructions:  Every row you are making, cast on a stitch at the end but first, with the yarn in the back, wrap the yarn around the cast on st from the previous row, then using the backwards loop method cast on one stitch and then continue in the headband pattern.   Then you will have a headband that you’re knitting and at the same time, perpendicularly, adding stitches to the hat.

I am starting with 1 stitch per 2 rows, but I think this is too little and I will have to k2, m1 on the first row.  More to come.