The best laid plans

All the best laid plans sometimes fail: the night before our trip to the Duchess County Sheep and Wool festival at Rhinebeck my daughter got sick with a fever and despite my husband’s ardent arguments for me going alone rather than face a year of pining for the festival, I could not drive for 7 hours by myself, and so, we didn’t go.

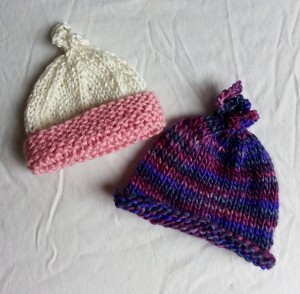
A week later, I asked my best friend to rescue me from the dumps with a visit to the local yarn store – JP Knit and Stitch in Boston’s newly hip and quickly gentrifying neighborhood.  I got 3 skeins of ECO + by Cascade yarns for a coat for my daughter and 2 skeins of Weekend DK by Berroco in Cornsilk (which is the color of sunshine).  I had two baby sweaters to make: one for my husband’s colleague and one for a friend’s nanny who is about to become a grandmother.

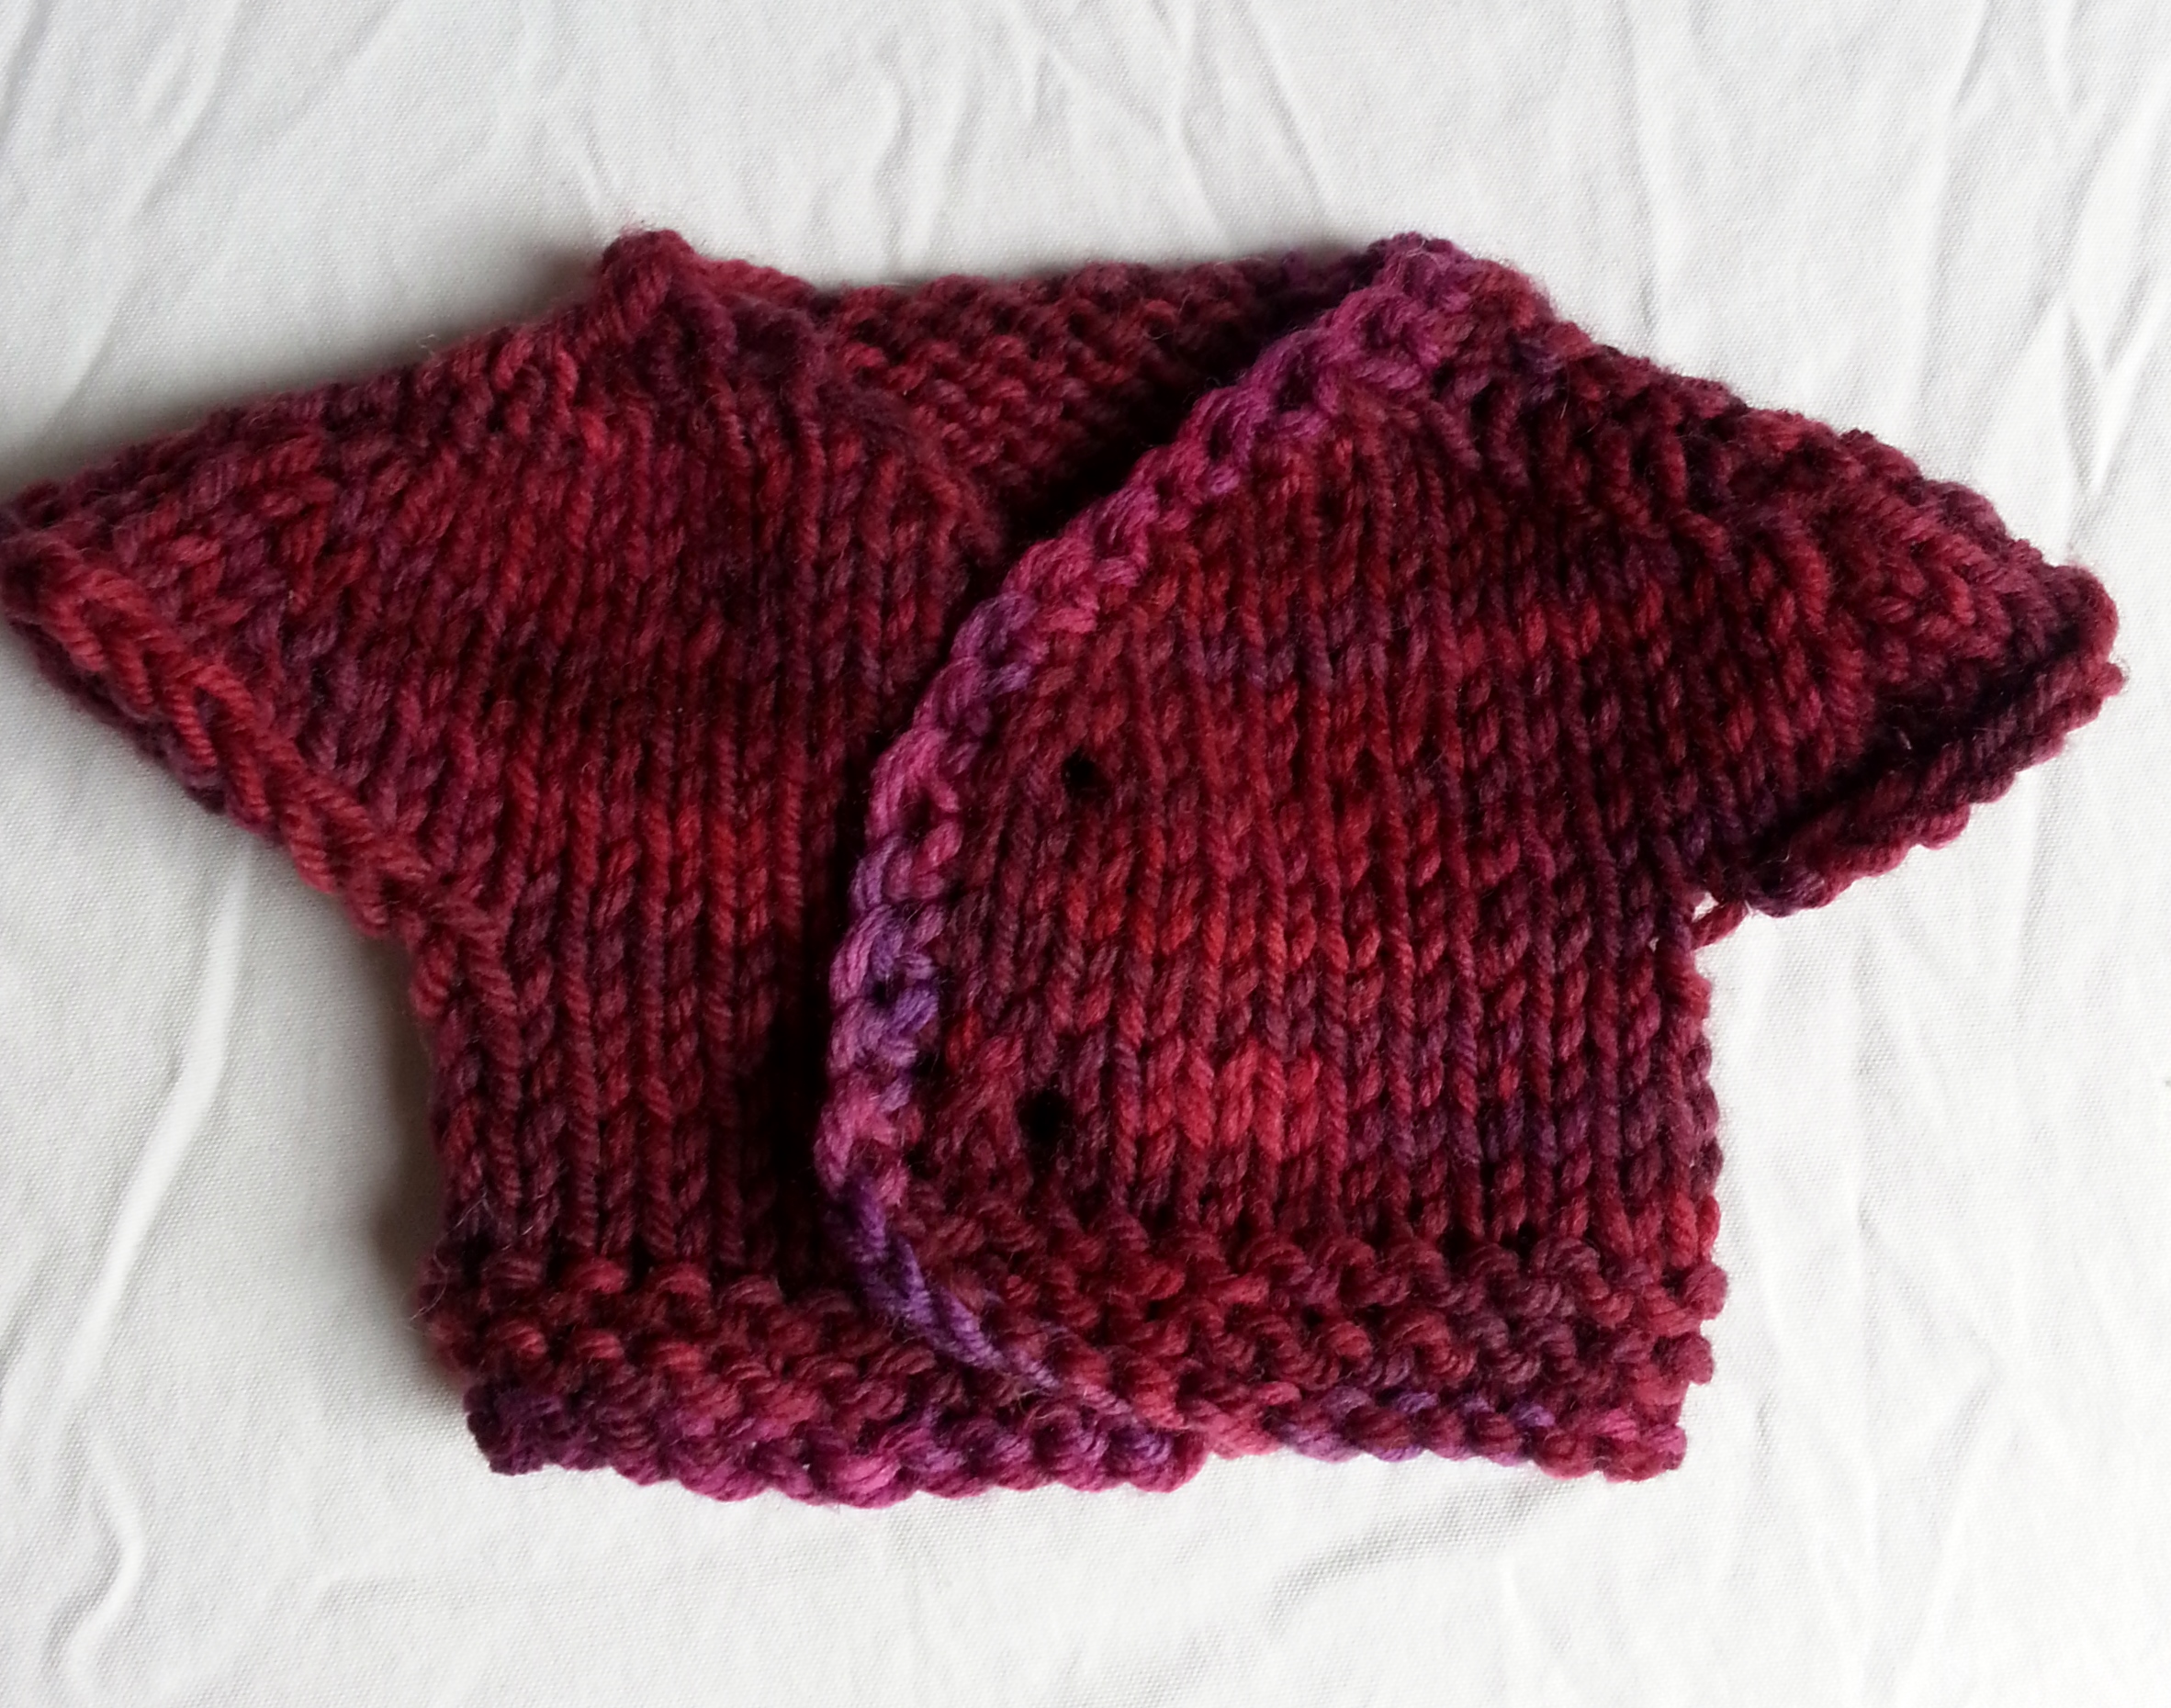
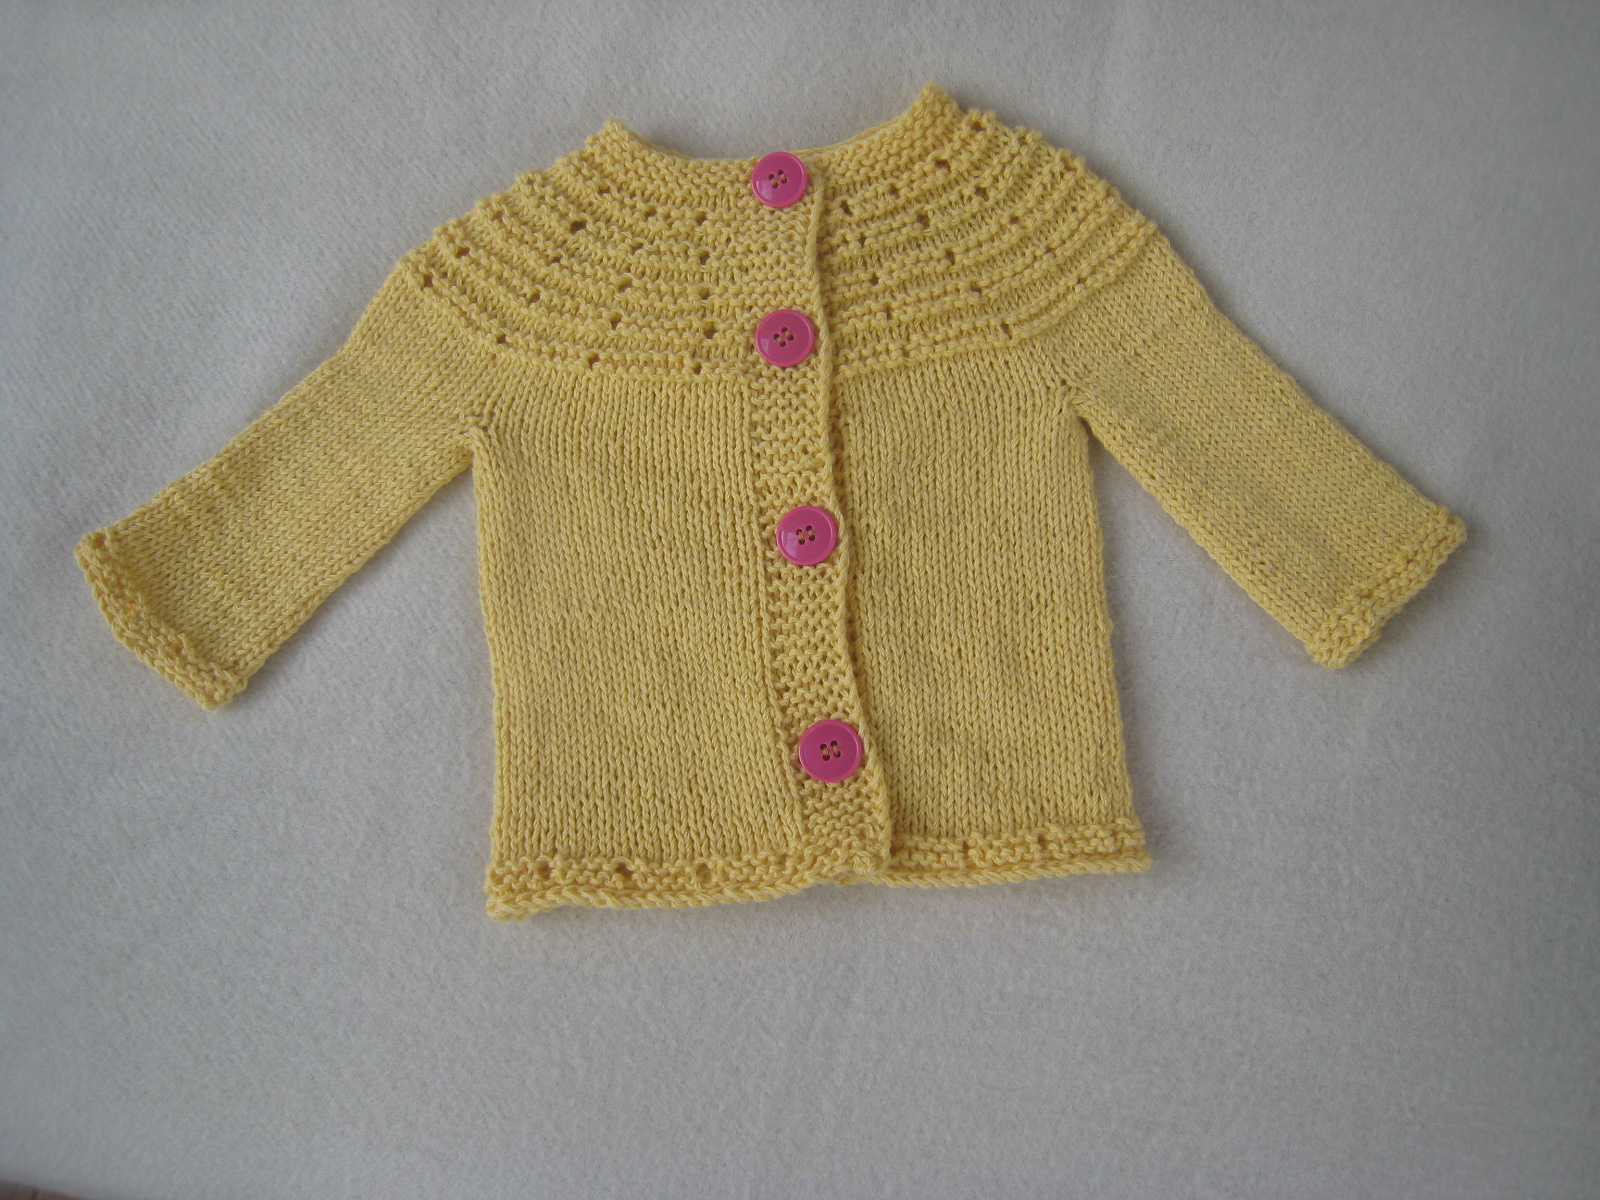
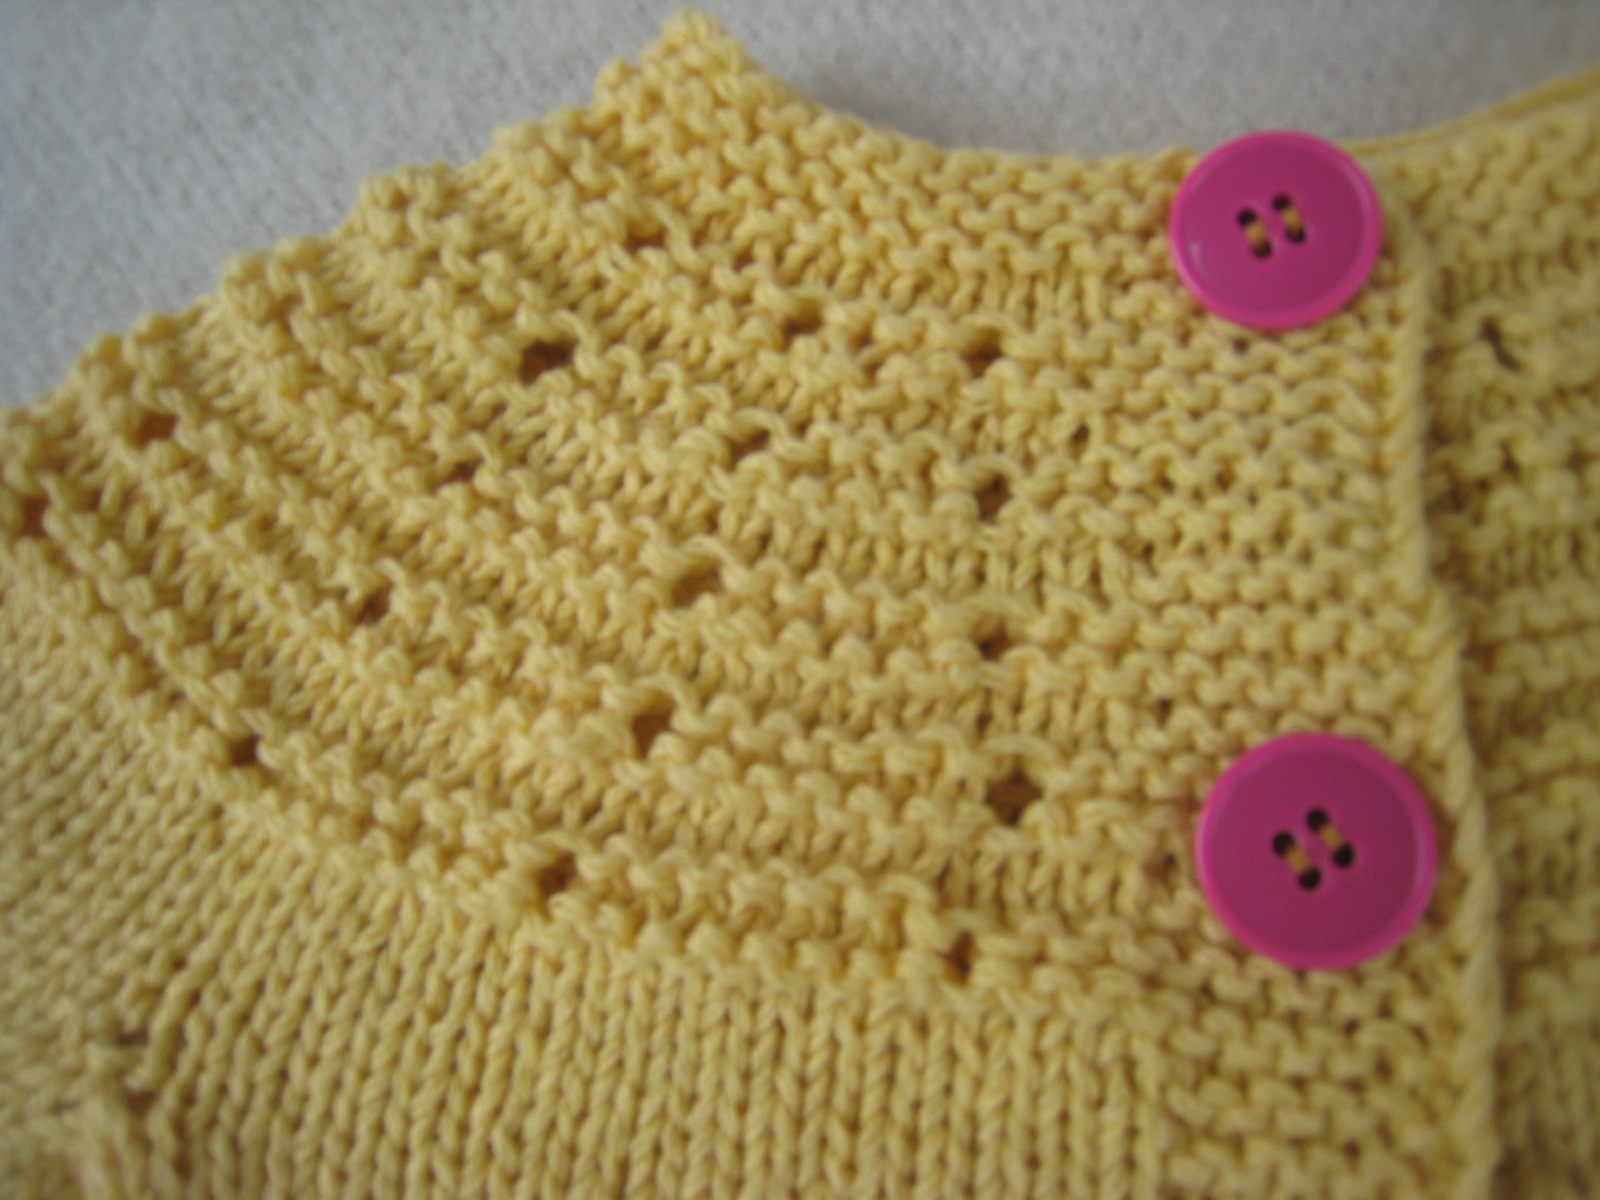
For the colleague, I followed instructions for the Eyelet Yoke Baby Cardigan, but I made one change: instead of increasing before and after the eyelet rows, I used the eyelet rows as my increases.  It made for an ever so slightly different result, but it saved me lots of time.

Eyelet yoke baby cardigan

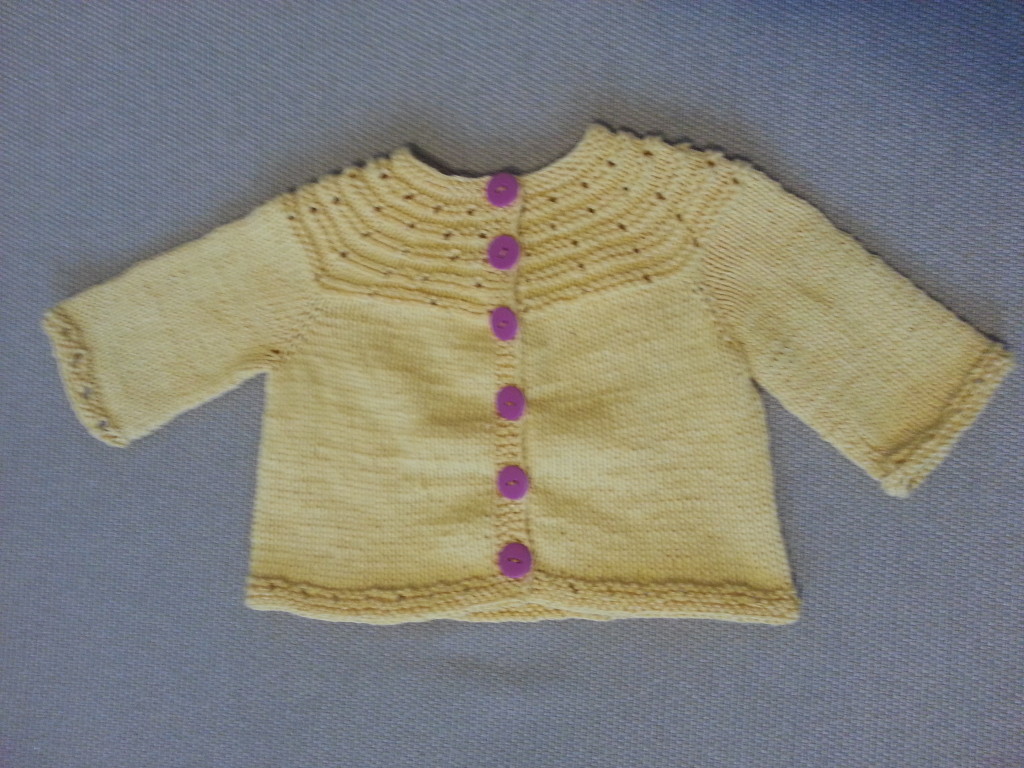
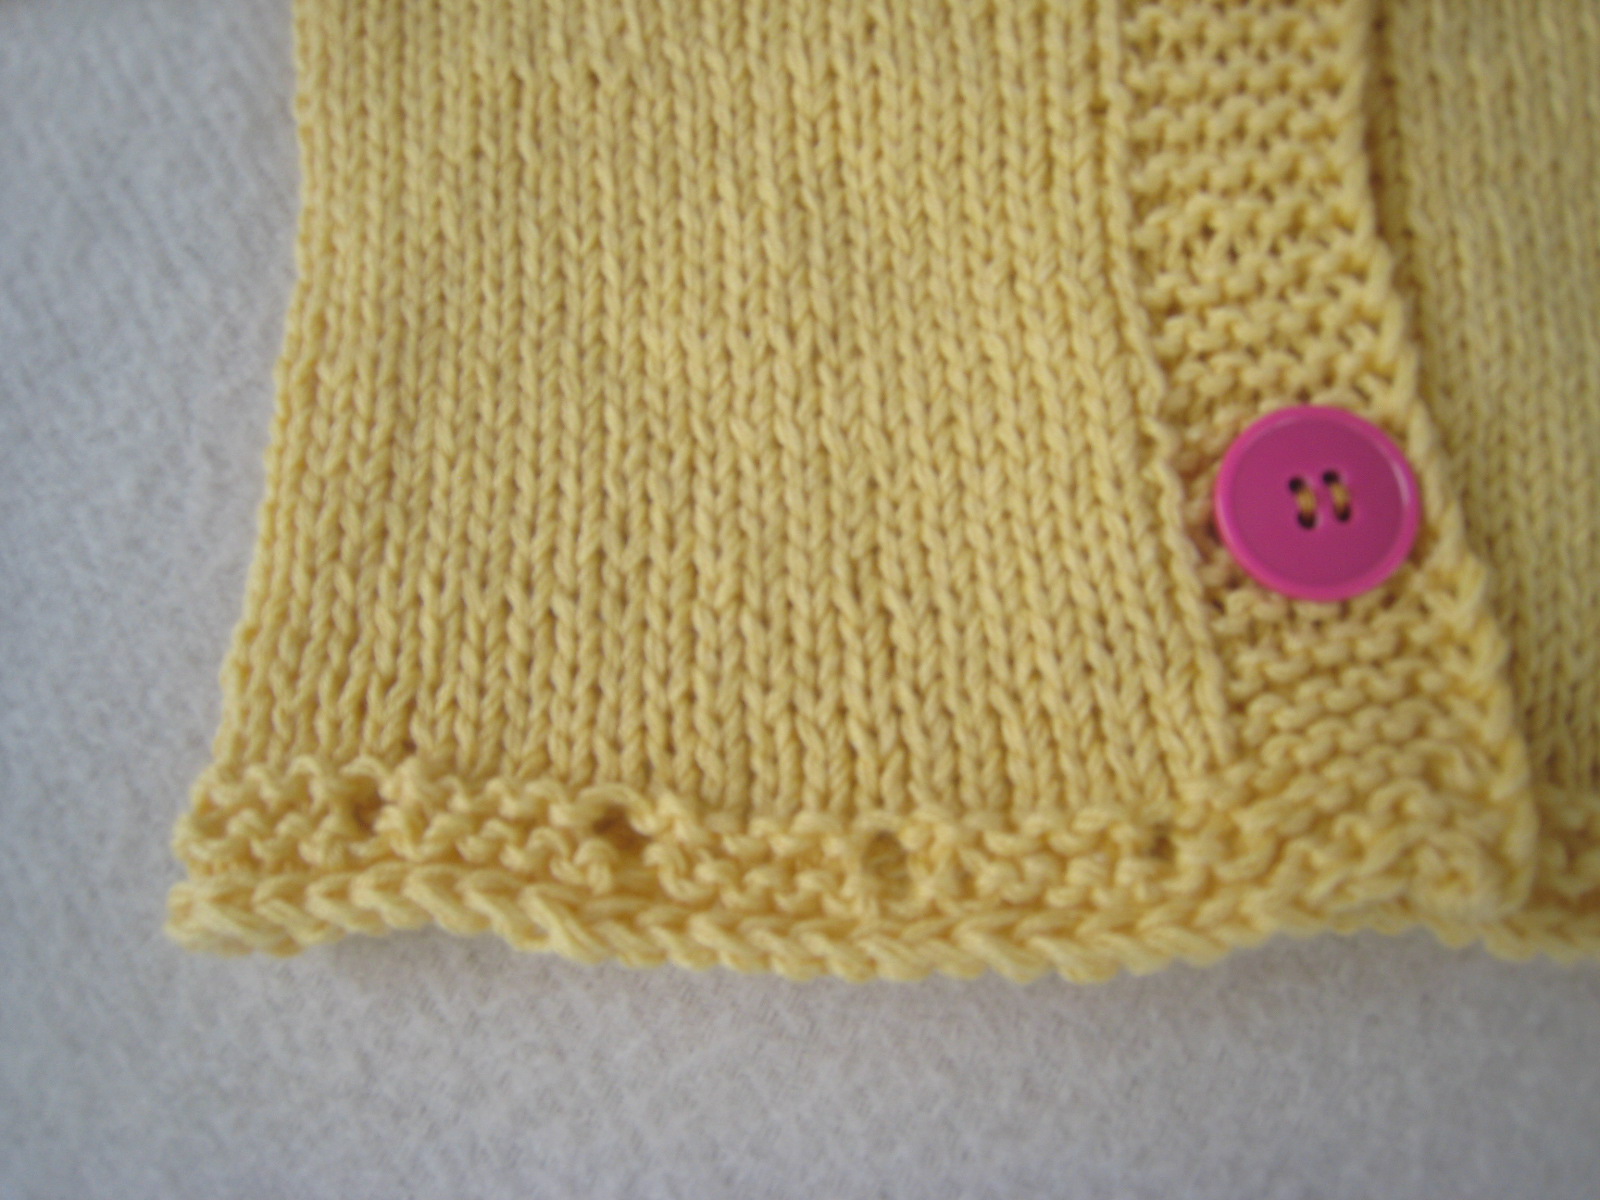
Once I had to make the second version of this, of course, I had to follow my modifications.  I also thought that the body on this sweater was a bit too wide, so I omitted the raglan increases after the yoke increases.

Here is the final product (I will post detailed directions at some point soon).

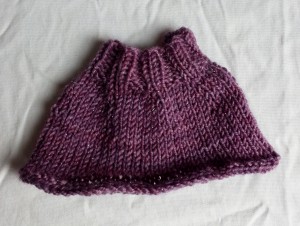
If there is any different in perceived color, it is merely due to the lighting.  These are knit from the same exact yarn and dye lot.


Spring Berets and clothing for dolls

For years now I’ve been trying to make a spring beret for myself.  I knit very fast and most berets are knit in the round, which makes this an easy project to accomplish. But I have finally accepted the source of my many failures.  Try as I might, I simply cannot create a light spring beret from DK yarn.  I will have to go backwards: find a pattern and then buy (yikes!) the yarn they recommend.  That will be a first.

In other news, I’ve been working on some gifts for my kids and decided to make clothing for their dolls.  Here are some of my creations:

Doll's dress with lace Doll's dress with Velcro closure and lace

This dress was so simple to make that I am astonished how good it looks.  I wish I could tell you the yarn, but I have no idea where it came from.  I found it in my stash, balled up and unlabeled.  It’s a cotton blend.  Here are some very sketchy directions: Cast on 36 sts and work for 4 rows in seed st.  Then keeping the first and last 4 stitches in seed stitch for the closure, work the rest of the stitches in stockinette stitch for about 2″.  Join in the round and work 2 rows in teh round.  Knit 2, m1 all around, then knit one round even.  Then Knit 3, m1, and continue this way until you have done Knit 5, m1.  Then knit evenly for 4″, and finish with another 4 rows of seed stitch.  I added 2 straps and a belt detail with 1/2″ lace I had on hand.

A skirt, hats and a baby sweater:

Knit doll's skirt knit hats for dolls Doll's sweater knit using the contigous method

To make the skirt, cast on 32 stitches, and work k2, p2. On the wrong side, work the established pattern.  Repeat these 2 rows for 1 inch, then (K3 and M1) repeating to the end of the row.   Work in stockinette stitch for 3″ and finish off with 2 ridges of garter st. This is a great way to use up some leftover sock yarn.

The sweater is made using the contigous method.  Look it up on Ravelry.  I can’t thank the creator of this method enough for sharing her creation with the world.  As you can see, I even make doll’s sweaters this way now. All you need to guess is the approximate width of the back of the neck. From there, you can adjust the shoulder and sleeve size as you go.


Very simple cabled headband

I made this headband for a fundraiser at my daughter’s school.  I like it because you can really make it any size, say a matching one for mom and daughter, and it will still look elegant.

Easy Cabled Headband for women Here is the woman’s version:

I got a sample of this yarn from Margaret at Mostly Merino when I was browsing her booth at the New York State Sheep and Wool Festival at Rhinebeck. I was blown away when I started knitting with this sample, it’s a really beautiful, well designed yarn.

Yarn: Remnant (less than ½ a skein) Mostly Merino, navy.

Needles: Size 5, you can use circular, double pointed or straight

Gauge:  About 6 sts/in in pattern.  The width of the headband is 2 ¾” and the total length with 18 crossovers is 22”.

Headband:

Cast on 18 sts.   (If you would like a wider headband, add extra seed stitches on each side.) Following the chart below, make 18 crossovers, for a headband approximately 22” long.   Try it on as you go along – you’ll want it to be tight, but not too tight or it will ride up, and not too loose since it will fall down. 

Easy cabled Headband for Women

A note on edge stitches: Start the row by slipping the 1st stitch knit-wise and purling the last stitch in every row.  This will create a nice braid effect on both edges.

Here is a video of the finished product:

Unraveling

Last night I had an idea.

What if I take the sweater that I don’t like, made from a yarn I love and re-knit it.   I don’t like the sweater because I have a long torso and it’s really meant for women with a shorter torso so the waist hits me in the wrong place.  Also, the cowl is nice and warm, but it’s too much and it’s hard to layer.

It’s too late to back out – you can see why below. This was probably a bad idea.  First of all, I don’t have a pattern for the cardigan that I want to make and even a search on Ravelry has come up short.  Second, I probably won’t have enough yarn to even make the cardigan.  But I dove right in, as usual, and the sweater is now almost all in large balls of yarn.

I’ll have to create my own pattern for this.  Don’t get me wrong, there are many patterns out there that create perfectly fine comfy cardigans, but I want it to be one piece. I hate seaming and I think that it looks awkward, especially on yarn this thickness (2.5 sts to the inch).

Wish me luck! I’ll post something if I can actually figure out how to make this cardigan from the top down.